Documentation

How Can We Help?
Here are a few items we think might help you get started faster with BIMData.io depending on your needs.
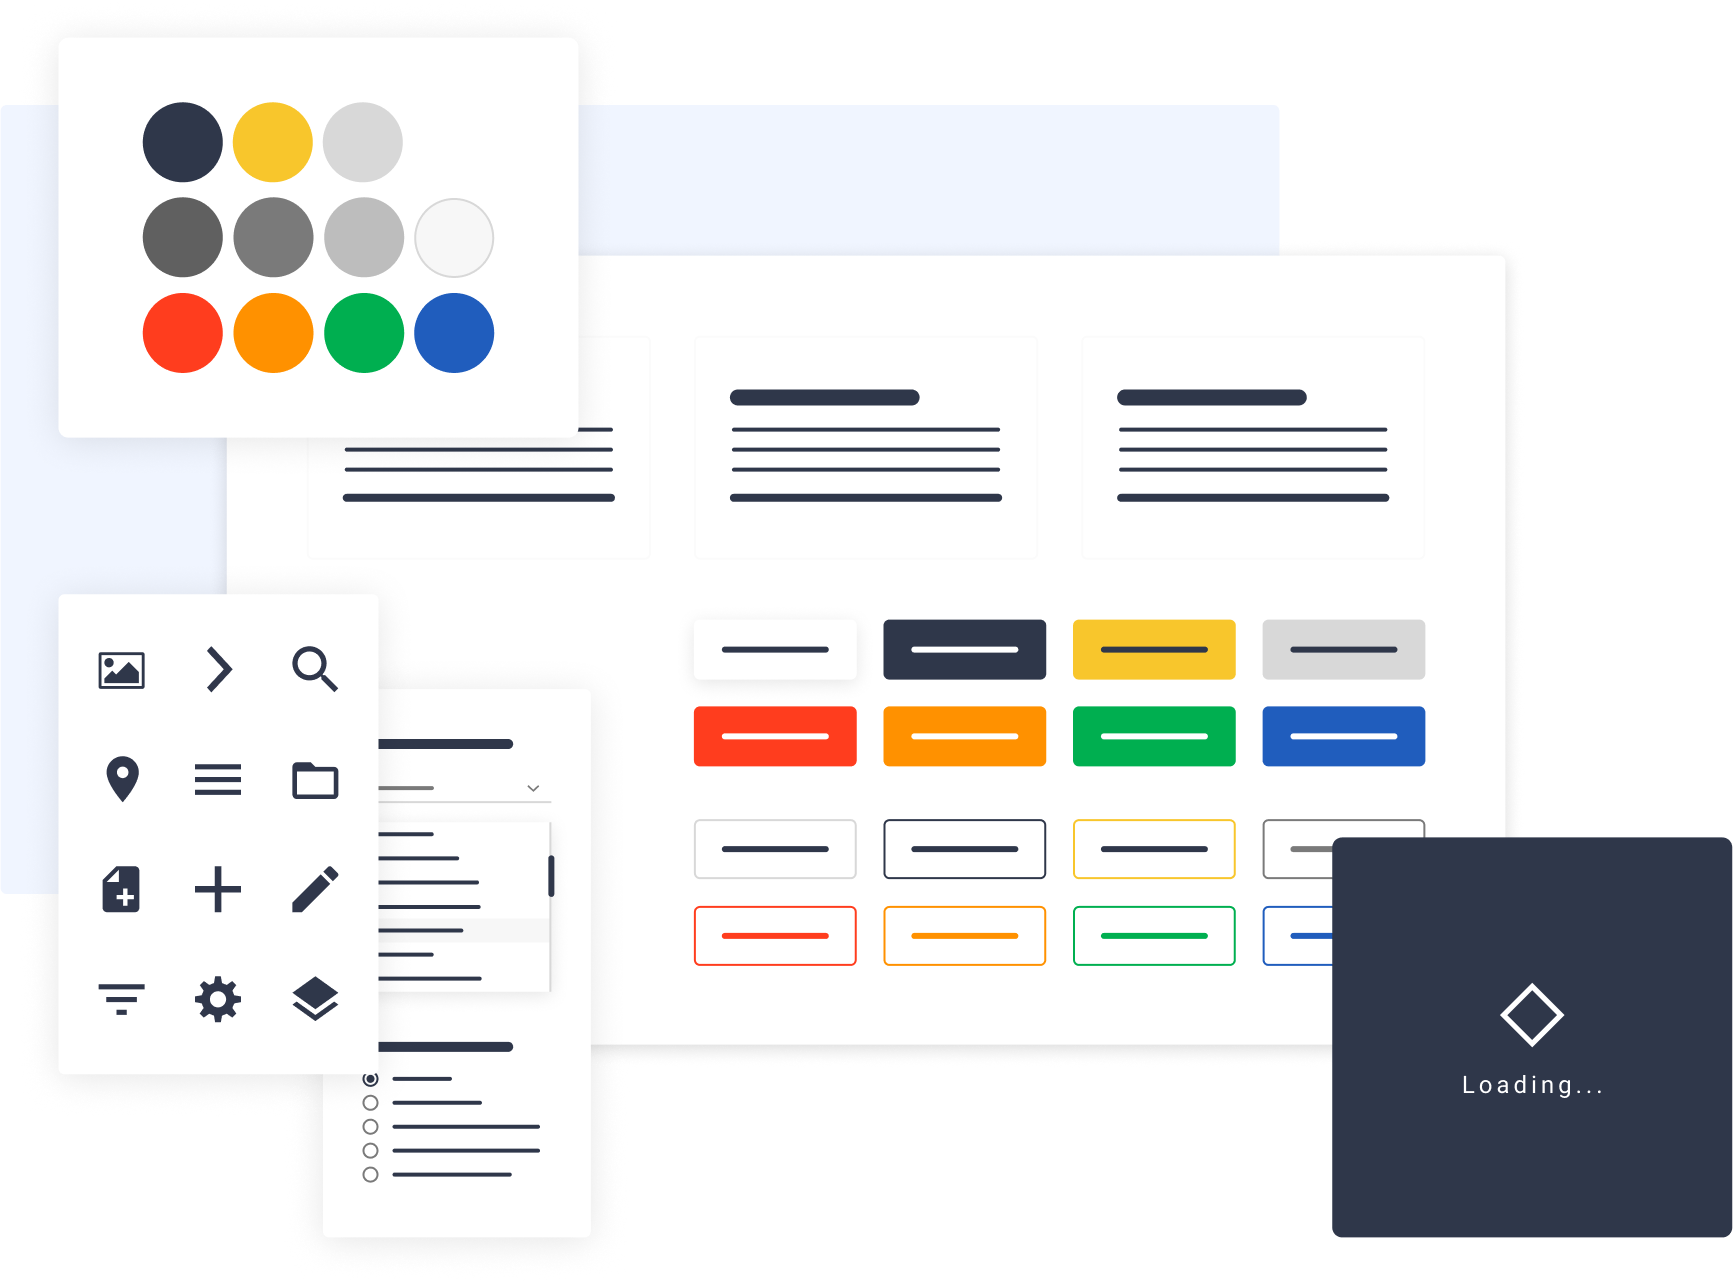
Design System
We have developed a Vue.js library that contains a set of components and demos for building interactive user interfaces. It is composed of UI patterns and components, typography, colours and associated tools, iconography, functional elements/components. All this is made available to developers to create plugins faster with a unified design.
Do you have a question ?
We're always here to help. Check out our support, contact our super helpful support team.
Your data will be treated in accordance with our Privacy Policy, which sets out the rights you have in respect of your data.