# Viewer SDK
We have pre-configured a VueJS environment to develop BIMData Viewer plugins. You can develop, test, build, package and share your plugin easily.
In this section, you get tutorials and references for installing and using the BIMData Viewer SDK (opens new window)

# Setup
First, you have to clone the sdk repo and install SDK dependencies :
git clone https://github.com/bimdata/bimdata-viewer-sdk.git
cd bimdata-viewer-sdk
npm install
Note:
If you want to create you own application you can copy the
.env.examplefile :cp .env.example .envThen you can read this guide : Create your application (opens new window)
# Compiles and hot-reloads for development
npm run dev
# Usage
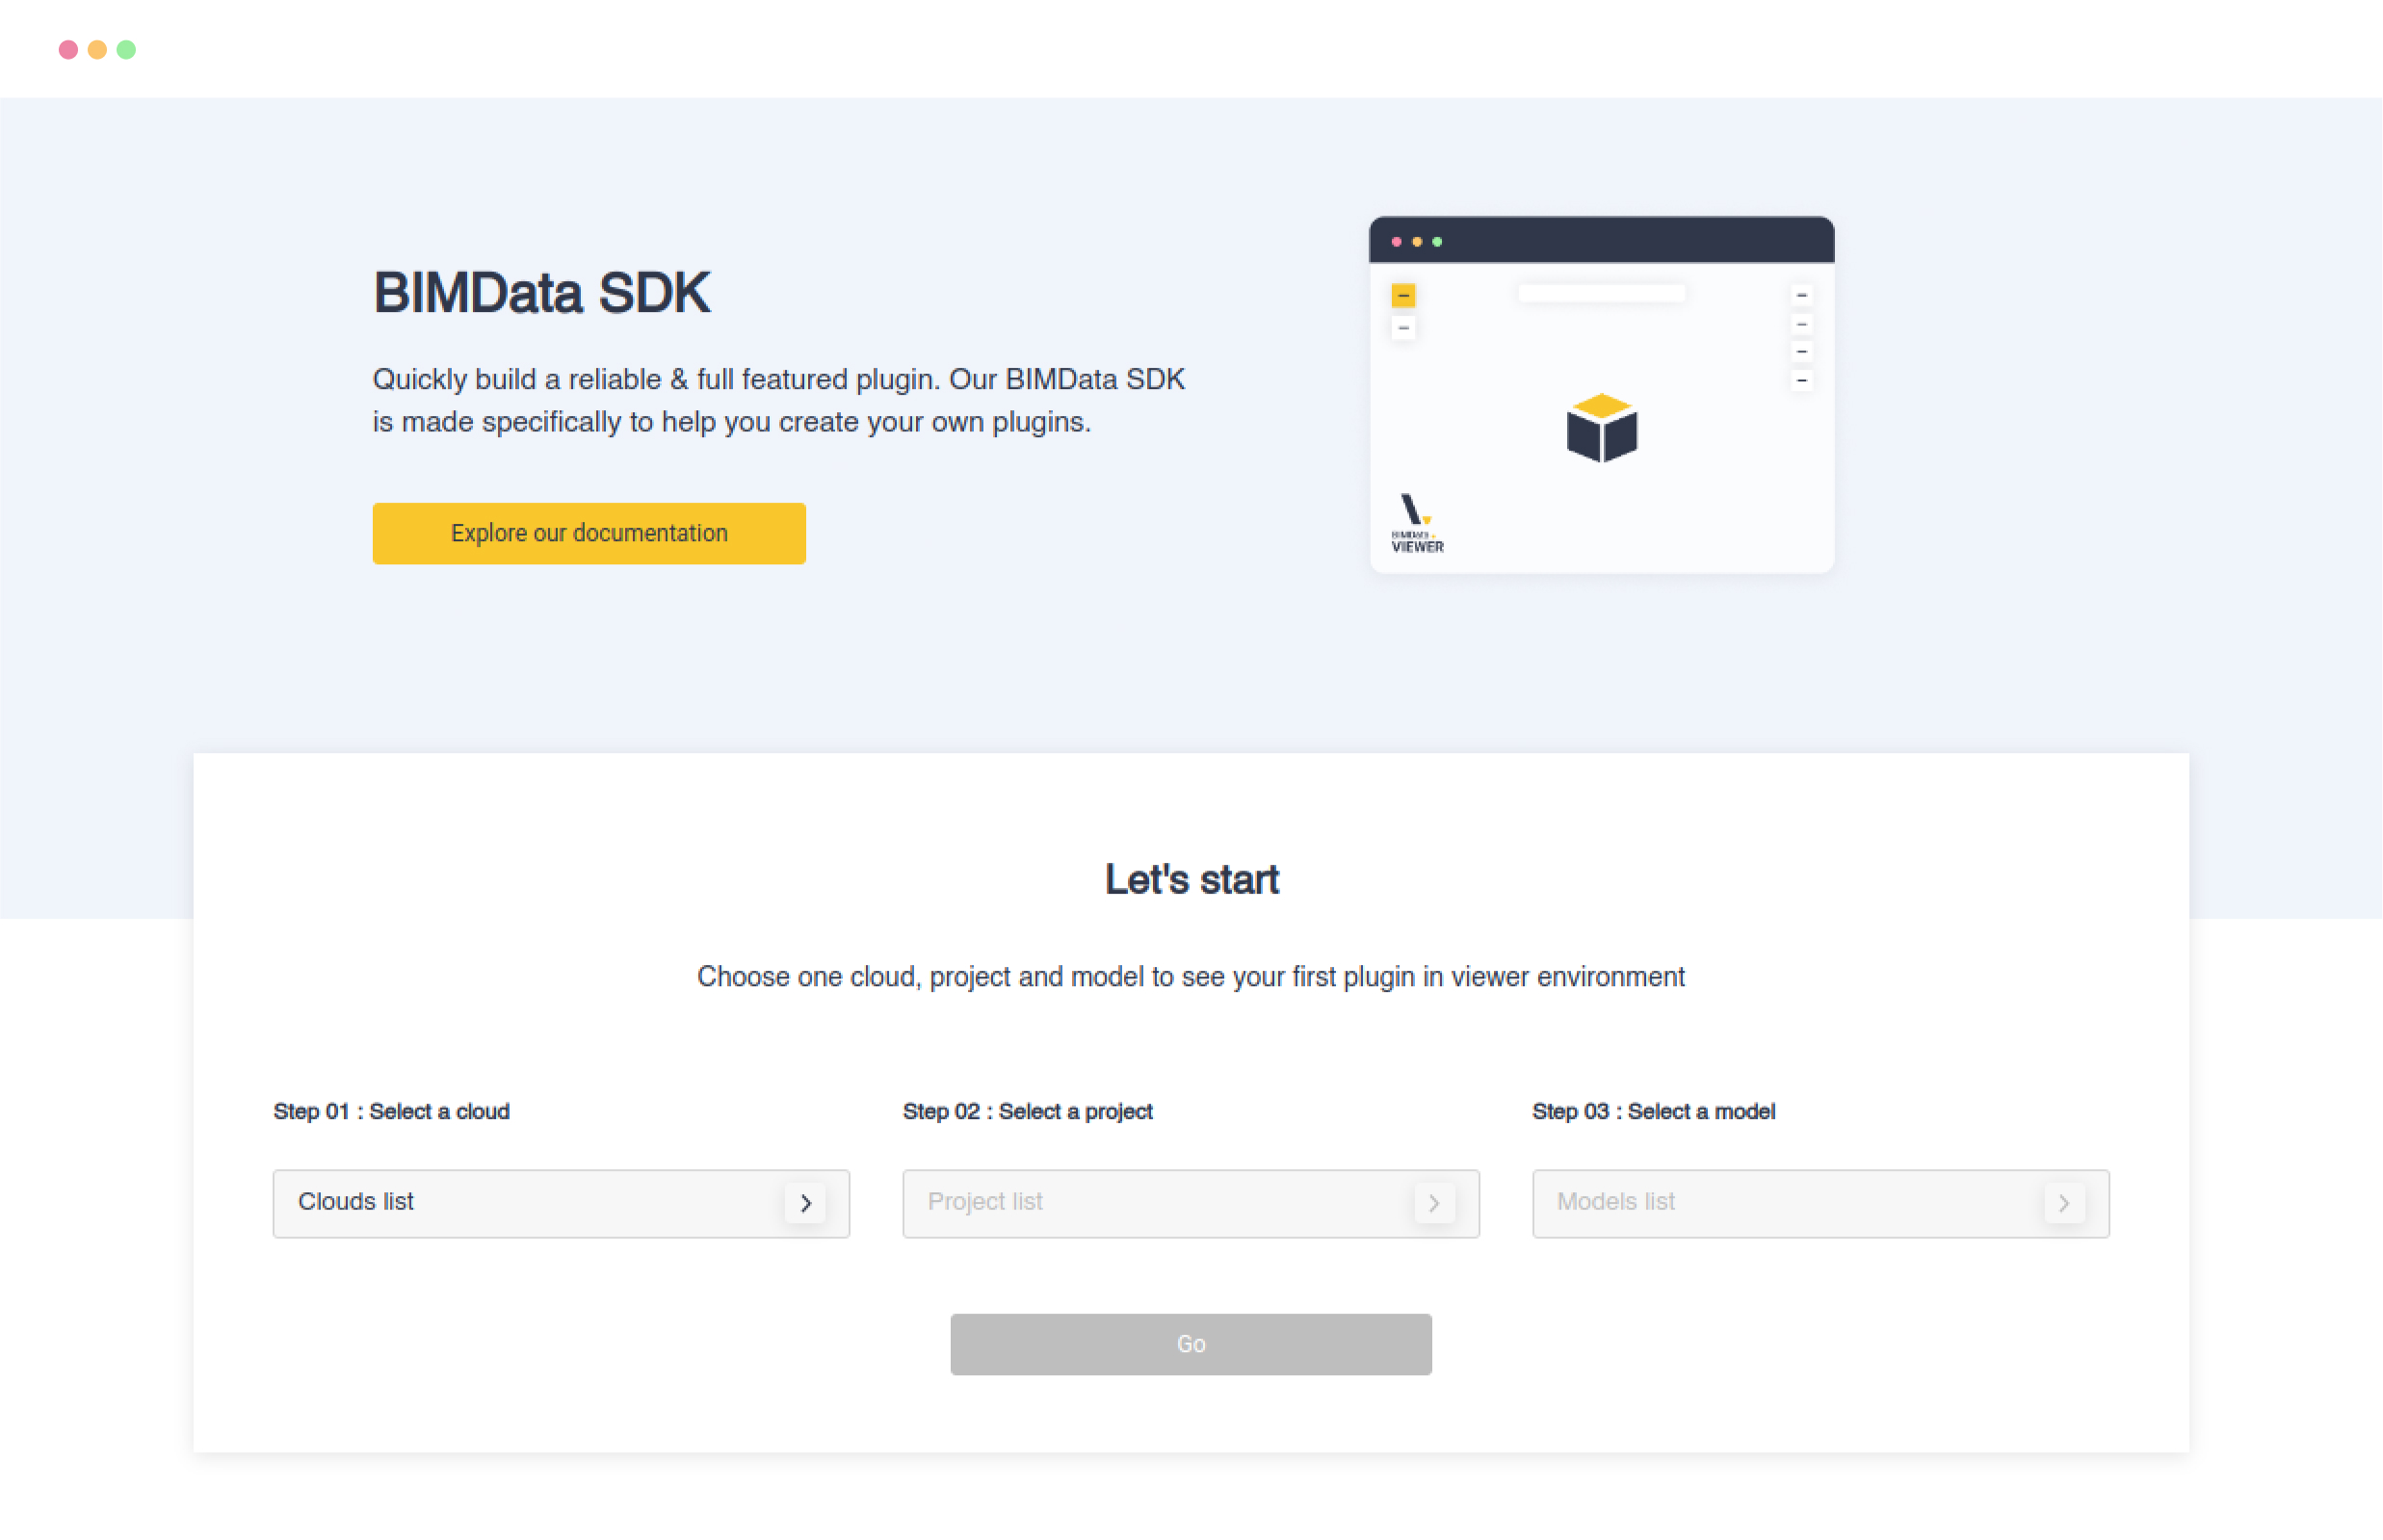
When going on http://localhost:8080 (opens new window), a simple interface will let you open the project and model you want. You can directly open one by opening an URL using specific Ids, for example : http://localhost:8080/viewer?cloudId=391&projectId=634&ifcId=1491 (opens new window)
# Create your plugin
npm run init-plugin
This tool asks you a couple of questions about the plugin you develop and generate from your answers boilerplate files for your plugin.
Files are created in the directory src/plugins/{name_of_your_plugin}.
Then import your newly created plugin in src/viewer/viewer.vue and add it to the registeredPlugin array.
import SnowflakesPlugin from "@/plugins/snowflakes/src/snowflakes.plugin.js";
import SplitPlugin from "@/plugins/split/src/split.plugin.js";

...
mounted() {
  this.$refs.bimdataViewerInstance.registerPlugins([
    SnowflakesPlugin,
    SplitPlugin,
  ]);
}
...
# Package your plugin
To load your plugin in a real environment, you need to package and publish your plugin. The plugin template is pre-configured with a rollup (opens new window) config that let you do this easily:
cd src/plugins/{your_plugin}
npm install
npm run build
This creates a dist/ folder in your plugin directory with a simple js file. This minified file includes the CSS and the assets (encoded in base64). It's not the most performant way, but it's the simplest and the Viewer loads many mega-bytes models anyway.
You can either copy-paste this file in your environment and load it at your convenience, or you can publish it on NPM.
To publish it, update the package.json file with the proper information and just run an npm publish.
The code is minified to protect your code as much as possible.
# More info about how it works
The SDK itself uses Webpack to build. The packaging uses Rollup. If you need a complex JS flow, it may lead to some issues. To see these issues before deploying, load the packaged version in the SDK:
cd src/plugins/{your_plugin}
npm run watch
And load the dist version of the plugin:
import SplitPlugin from "@/plugins/split/dist/split.plugin.js";

...
mounted() {
  this.$refs.bimdataViewerInstance.registerPlugins([
    SplitPlugin,
  ]);
}
...
You can also edit the webpack and rollup config as you want.
← Mobile Release Notes →
