Plugins
In the previous part, we covers the differen UI elements used by the BIMData viewer. In this part, we will cover the main aspect you need to know to manipulate the BIMData viewer environment using Plugins.
Plugin types
Firstly, we need to differentiate between these three classes: Plugin, PluginInstance and PluginComponentInstance. To understand the difference, we have to keep in mind that a Plugin is added to a Window as a child. This Window can be open several times on the same BIMDataViewer instance, and the same plugin can also be added to different Windows. For this reasons, there is a difference between the Plugin and its instances across all displayed Windows.
const myPlugin = bimdataViewer.registerPlugin({
  name: "myPlugin",
  component: {
    template: "<div>My plugin component template</div>"
    created() {
      this; // this represents the plugin component instance.

      this.$plugin; // global API to get the corresponding plugin instance.
    }
  }
});
In this example, myPlugin is a Plugin. this.$plugin allows to get the PluginInstance, while this it the instance of the Vue.js 3 component, also named PluginComponentInstance in the context of the BIMDataViewer.
Plugins don't necessarily need to be represented (with a component), and it can sometimes be useful to register a plugin that will only act as a function for manipulating the viewer. The corresponding API is startupScript.
const myPlugin = bimdataViewer.registerPlugin({
  name: "myPlugin",
  startupScript($viewer) {
    // add logic here
  },
});
Plugin UI
Plugins are Window children and can be displayed in different ways.
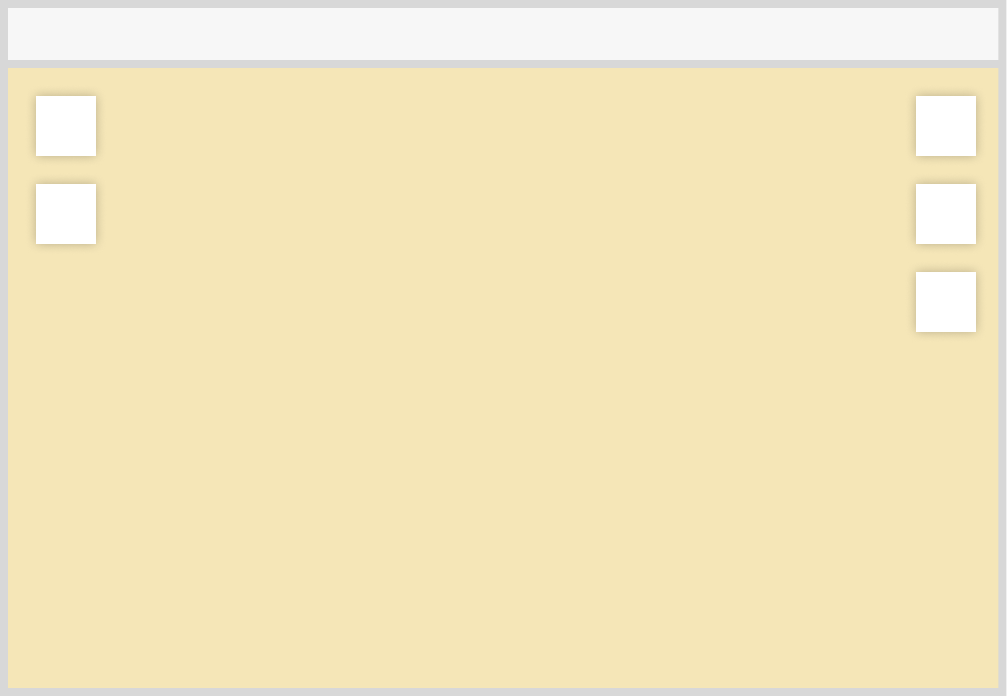
Default representation
The default representation is on the Window area.
const myPlugin = bimdataViewer.registerPlugin({
  name: "myPlugin",
  component: {
    template: "<div>My plugin component template</div>"
  }
});
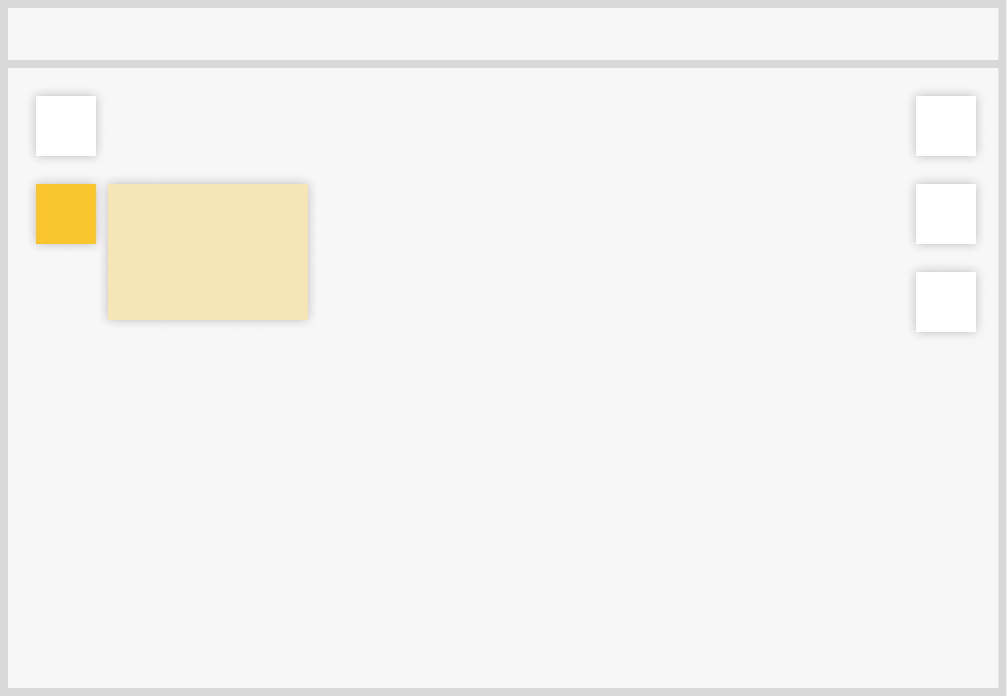
Plugin as button
Plugins can also be displayed as a side button, on the left or right of the Windows. By clicking on it, the Plugin opens and its content is displayed in 3 different ways:
- simple : plugin content displayed close to its corresponding button, on a small panel.
const myPlugin = bimdataViewer.registerPlugin({
  name: "myPlugin",
  component: {
    template: "<div>My plugin component template</div>"
  },
  button: {
    position: "left",
    content: "simple"
  }
});
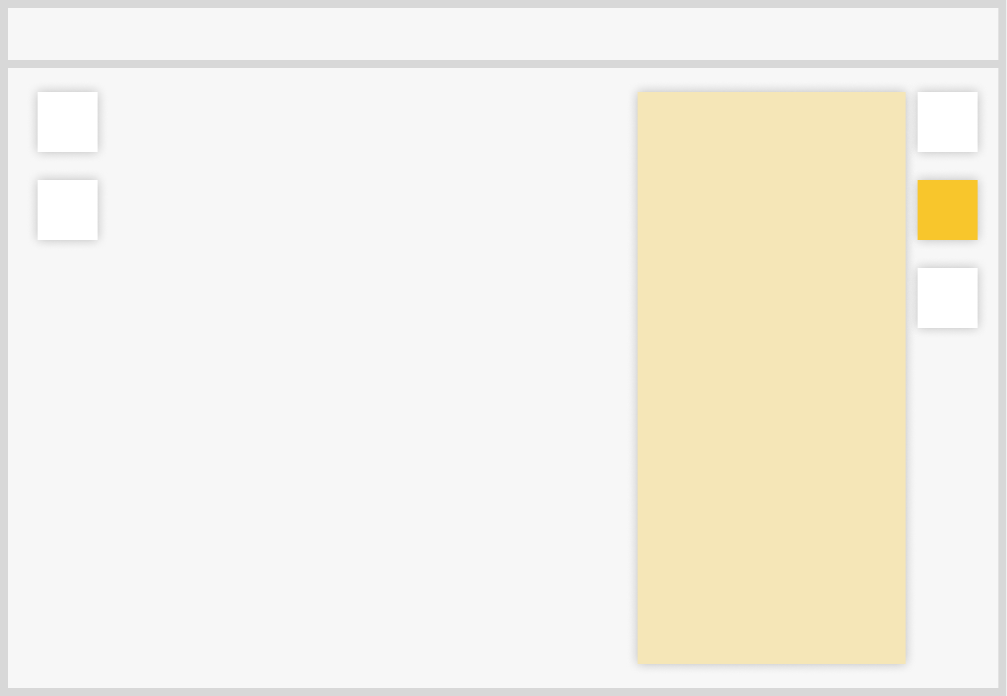
- panel : plugin content displayed on the whole Window height.
const myPlugin = bimdataViewer.registerPlugin({
  name: "myPlugin",
  component: {
    template: "<div>My plugin component template</div>"
  },
  button: {
    position: "right",
    content: "panel"
  }
});
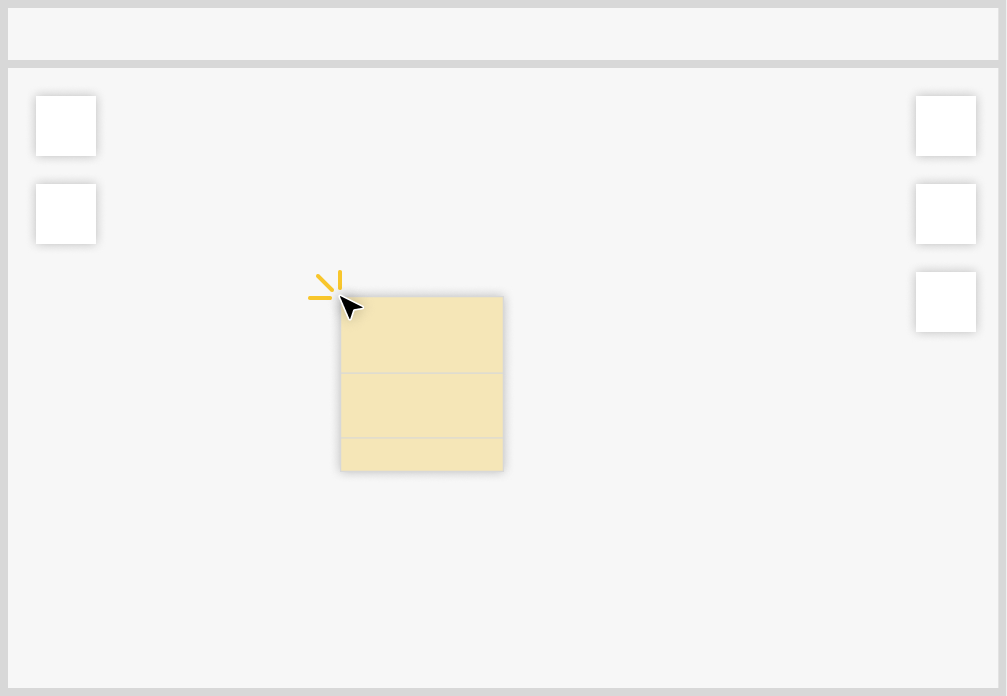
- free : plugin content displayed on the side of the button, without any layout. Its size is determined by its content.
const myPlugin = bimdataViewer.registerPlugin({
  name: "myPlugin",
  component: {
    template: "<div>My plugin component template</div>"
  },
  button: {
    position: "right",
    content: "free"
  }
});
TIP
Checkout the example about the GUI Layout for practical application.
Context Menu & Keyboard Shortcuts
The Context Menu and the Keyobard Shortcuts can be personalized using Plugins.
Both of them take into account the context of the request. In this way, it is possible to launch a specific action in a particular Window when a keyboard key is pressed while the mouse is hovering that Window. In the same way, it is possible to add to the Context Menu only a list of commands specific to the place where the click was made.
The Context Menu is usually displayed while right clicking on the screen.
Here is an example of a shortcut and a context menu command:
const MyPlugin = {
  name: "context-menu-and-keyboard-shortcut",
  startupScript($viewer) {

    $viewer.globalContext.registerShortcut({
      name: "message",
      key: "L",
      execute: () => {
        if ($viewer.state.selectedObjects.length > 0) {
          console.log($viewer.state.selectedObjects)
        }
      }
    });

    $viewer.contextMenu.registerCommand({
      label: "Log selection",
      execute: () => console.log($viewer.state.selectedObjects),
      predicate: () => $viewer.state.selectedObjects.length > 0,
      picto: "L"
    });
  },
};
$viewer
$viewer is the main entry point for a plugin to interact with other elements of the BIMData viewer. It is globally available and can be accessed directly on the plugin component instance using this.$viewer.
const myPluginComponent = {
  created() {
    const $viewer = this.$viewer;

    // ...
  }
}
Via $viewer, you can access important properties like:
localContext, used to manipulate the parent Window UI and state.globalContext, used to manipulate the global UI.api, used to do all the things related to the connection with the BIMData API.state, used to manipulate the BIM object states, the annotations and listen to BIM object state changes.i18n, used to do internationalization.
Notice that $viewer is also available as first argument of the startupScript method and can be injected to be used on component setup method.
import { inject } from "vue";

const myPluginComponent = {
  setup() {
    const $viewer = inject("$viewer");

    // ...
  }
}

const myPlugin = {
  name: "my-plugin",
  component: myPluginComponent,
  startupScript($viewer) {
    // TODO
  }
}
Global & Local Contexts
The globalContext and the localContext are two essential entities of the BIMDataViewer API.
Global Context
The globalContext is the entity to interact with the UI at a global level. It has API to manipulate the Window layout like open, swap, close... It is also the access point for the viewer header API: globalContext.header. It is also used to register keyboard shortcuts globally, display loading spinner or display modal on the entire viewer view.
It can be also considered as the localContexts parent. Indeed, it has API to get all viewer's localContexts, PluginInstances, PluginComponentInstances (using globalContext.plugins API)...
Local Context
The localContext is the entity to interact with the Window UI. It is used to register keyboard shortcuts locally, display loading spinner or display modal bounded on the Window view. It also owns the Window state (loadedModels, modelTypes, selectedStorey...).
Notice that the $viewer.localContext property is context dependent. It returns the corresponding localContext of where it is called. In another hand, $viewer.globalContext is always the same wherever it is called.
Difference from Window
localContext and Window can be mistaken as a single entity, but the main difference is that you can load different Window using the same localContext. The Windows have to be registered first, and then can be loaded using the bimdataViewer.mount second argument, or the localContext.loadWindow method. The localContext is like the host that can accept different Window to be loaded in it.
UI bounds
A good image to see the difference between the bounds of the localContext and the globalContext is the spinner which is displayed when the globalContext.loadingProcessStart() or localContext.loadingProcessStart() is called :
Global context spinner
Local context spinner

Design System 🧑🎨
The BIMData design system is globally available on the viewer and can be used to quickly style the Plugin Components.
In the following example, the BIMDataButton is not imported as it is globally available:
const myPluginComponent = {
  template: "<BIMDataButton @click='onClick' >Click !</BIMDataButton>",
  methods: {
    onClick() {
      console.log("clicked !");
    }
  }
}